Thursday, October 23, 2014

Adorable ZOMBIE Cupcakes!


I made Zombie Cupcakes.
You might say this is as "dark" as my dark side gets.


Pink and Green Frosting Brains, sprinkled with sugary bones.
Candy Melt Mouths with little white zombie fangs piped on.
If you didn't notice, the pink zombie has just been bitten by the green zombie.
He is transforming into a Cupcake Zombie.
My little Cupcake Zombies might be more adorable than scary.
..And they are really fun to play with when you are done decorating them.
Perfect for The Kid at Heart.

Cupcake Zombies in a Cake Pop Forest.

There are so many scary things out there in the world.  I thought...if I am going to make Zombie Cupcakes, they should be fun and adorable with a little glob of scary on top. That's my style. Zombie Love.

And this is how you make Zombie Cupcakes come "alive"!

1.  Bake & Fill the red velvet cupcake zombie bodies with strawberry jelly or cherry pie "guts".


2.  Line a baking sheet with parchment paper. 

For the "X" eyes:  I used multi-colored mismatched M&Ms, and laid them out flat on the parchment paper.  I piped little "X" shapes onto the "eyes"out of a piping bag that was filled with melted white candy melts. The white "X"'s have to dry before you can put the eyes on the zombies.


For the hungry zombie mouths..

I used Dark Chocolate Candy Melts, and cut them in half so that one side of the round candy melt was flat. These were also laid out flat on my parchment paper.

Some of the zombies were just bitten so they don't have fangs yet. Poor things.  They look bewildered.  I piped little fangs onto the candy melt mouths of the hungrier zombies with a piping bag filled with melted white candy melts. 

You'll need to pipe an electric green or electric pink frosting swirl on top of each zombie so you can put their "face" together.  The big fat zombie frosting swirl was made using my buttercream recipe (see below) and a 1A Round Tip at the end of a piping bag.

I added the "brains" on the side of the frosting swirl by "bashing" the zombies in the head with a cake pop stick. (You could also use a toothpick). This indented the frosting on the upper side of the zombie frosting head and made room for me to pipe swirl of contrasting frosting in that "hole" in the zombie's head.  The brains fit perfectly.  Are you getting hungry?

Stick the eyes and mouths on the zombies.
Scary..but adorable ♥

I made these too. Matching red velvet zombie cake pops.
These are a little less adorable and a little more scary.
All the cupcakes and cake pops are completely edible.
even the BRAINS!!!!!!!!!!!!!


A Zombie Unicorn Cupcake, made by one of my Cupcake Students, Natalia.
Made with a Bugle Horn, A Marshmallow, Edible Ink, and assorted candies!


Red Velvet Zombie Cupcake Recipe by Amanda Cupcake:
3 Cups Flour
1 1/4 tsp baking soda
1 1/4 tsp salt
1 1/4 tsp cocoa powder
1 1/2 cup veg oil
2 1/4 C Sugar
1 1/4 C Buttermilk
2 Eggs
2 T Red Color
1 1/4 tsp apple cider vinegar
1 1/4 tsp vanilla extract
1/8 C Water
1 tsp almond extract
Instructions:
1. Preheat oven to 325  and line your pans with 24 cupcake liners.
2. In one large bowl, sift flour, baking soda, salt, and cocoa powder together.
3. In stand mixer, cream Vegetable Oil, Eggs, and Sugar together. After you have creamed these together, add your vinegar to this mixture.
4. In separate bowl, combine/ whisk liquids together: Water, Vanilla, Buttermilk, and Almond Extract.
5. Alternate the addition of dry ingredients & liquid ingredients to the creamed mixture. 
6. Add red color at the very end to make sure red velvet color is vibrant. Like Zombie Blood Red.
6. Fill Cupcake liners ¾ full and bake for 18-22 min at 325 or until toothpick inserted in center comes out clean.

Buttercream Frosting Recipe by Amanda Cupcake:
1 lb butter (softened)
1 T Vanilla Extract
Pinch of Salt
1/2 cup heavy whipping cream
8-10 Cups Powdered Sugar (depending on how thick you want your frosting to be)

Cream the butter in your stand mixer.
Mix well until fluffy and well blended.
Gradually add a pinch of salt and vanilla extract.
Now add your powdered sugar, slowly until the frosting reaches desired consistency.
(The more powdered sugar you add—the more stiff the frosting will be for decorating).

Labels: , , , , , , , , , , , , ,

Tuesday, May 6, 2014

Cotton Candy Cupcake Recipe!


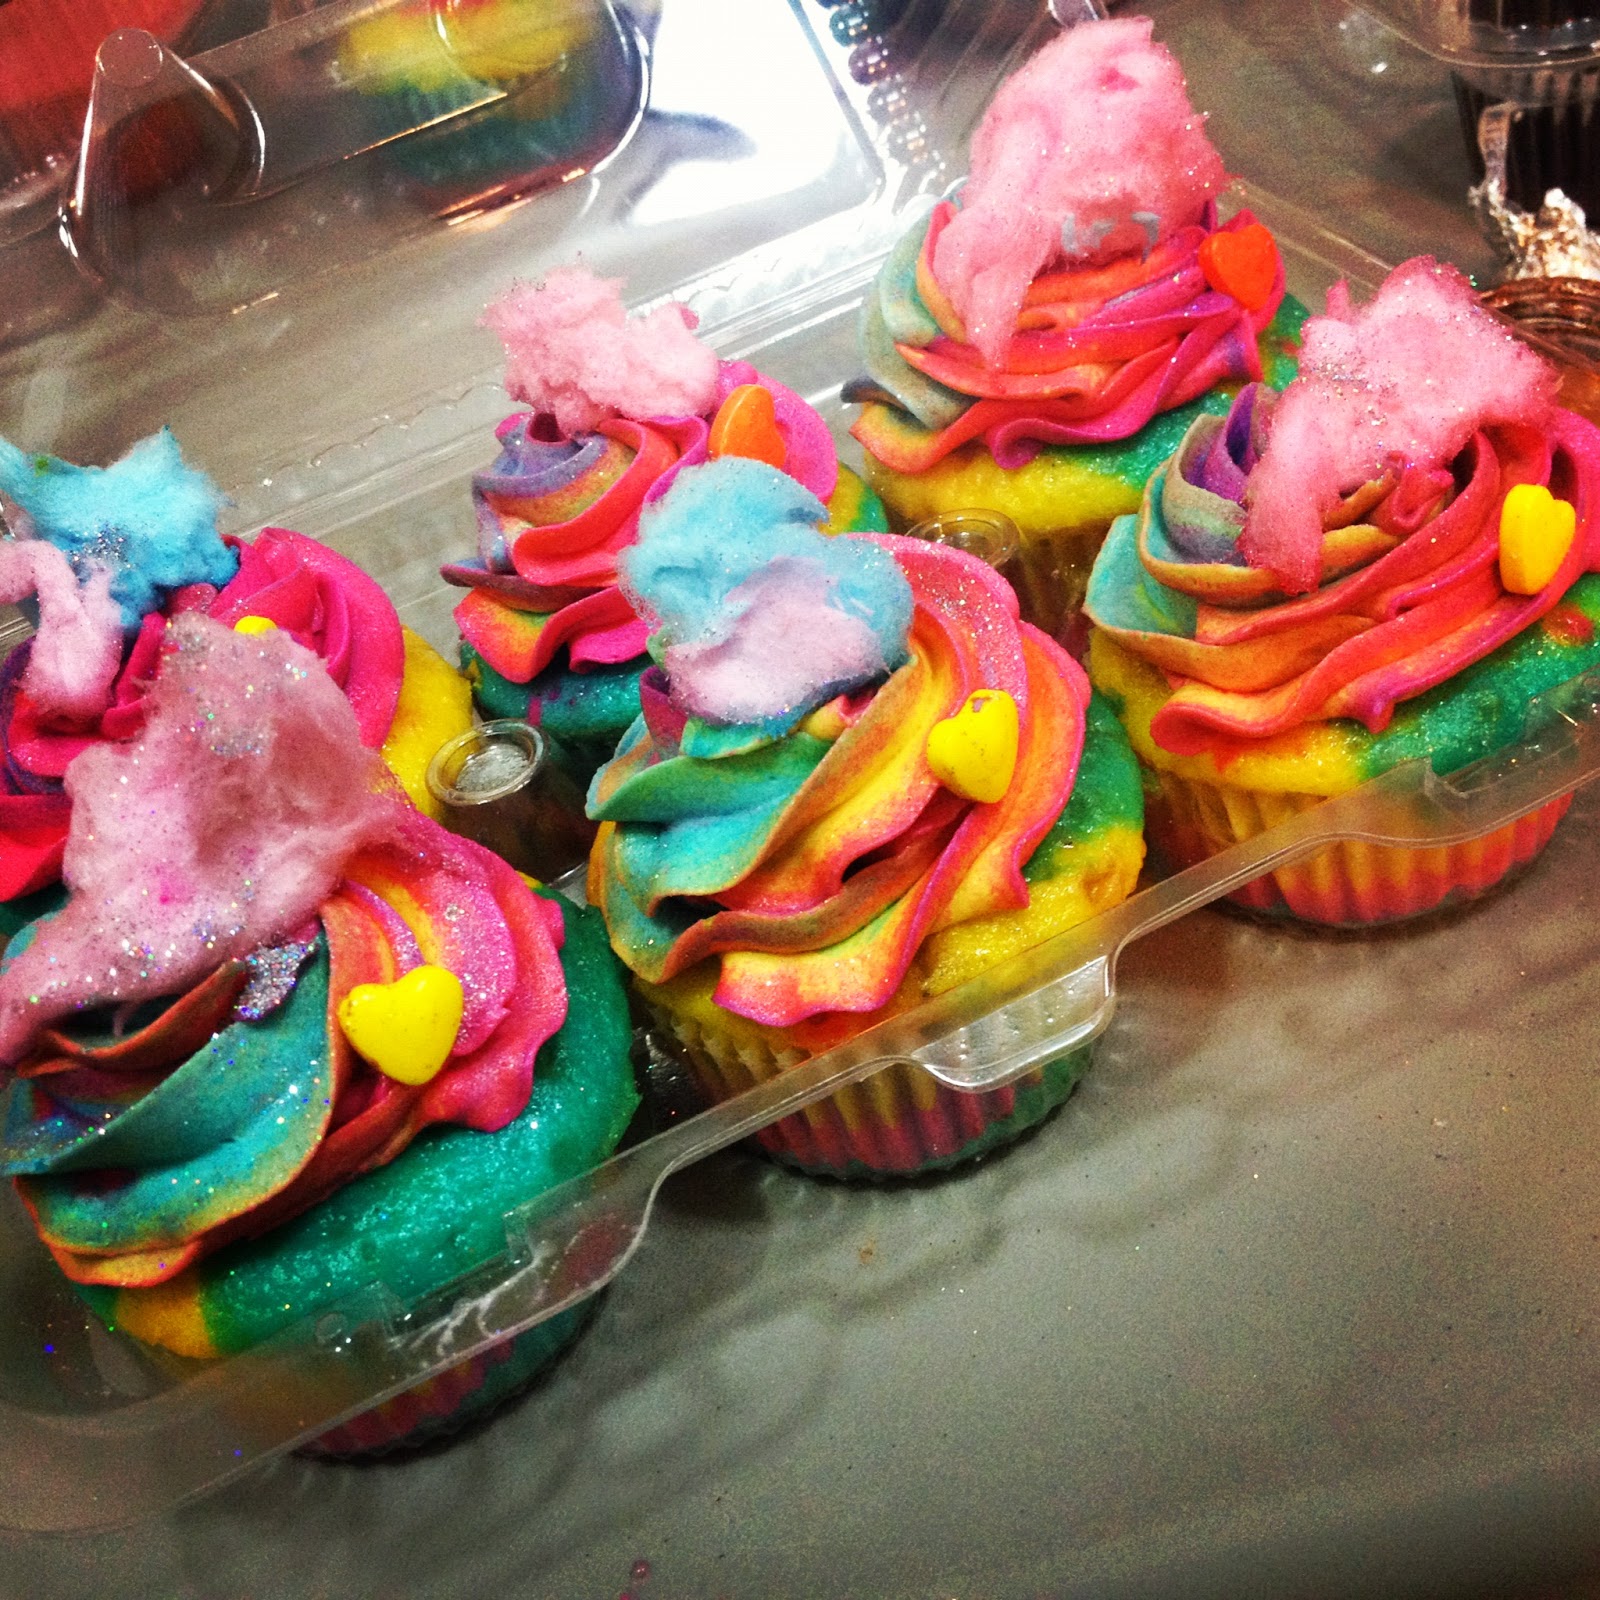
Cotton Candy Cupcakes that look like...
Clouds!  Like when you stare at the sky, and you make all these shapes out of clouds because you are wonderful at using your imagination.  Or Clouds of Cotton Candy, so light and fluffy that you can't believe that they are real (because it does melt in your mouth and disappear after you eat it never to be seen again.).

I'm going to share my bake-at-home version of cotton candy cupcake recipe with you kiddos today (and yes I said kiddos because you are all kids at heart)!

Decor:

I use a Wilton 4B Tip inserted into the end of a disposable piping bag to create the Cotton Candy Dreamy Puffy Fantasy Cloud like swirl effect on top of my cupcake. 

I insert the tip into the end of a disposable piping bag,cut off the end and pipe little multi-color swirls of frosting all over the top of my cupcake.  The best colors to use as a rainbow cotton candy swirl are a dot of Americolor Sky Blue (for a pastel cotton candy blue color), a dot or two of Americolor Electric Pink, and a dot of Americolor Royal Purple.  Think light and fluffy for your colors.  You only need 3 base colors because the colors will mix together once they are in your piping bag and create other light and fluffy colors! To learn how to create the rainbow frosting swirl effect, you can read my Vanilla Rainbow Cupcake blog tutorial here:  Fantasy Vanilla Almond Rainbow Cupcakes!


The actual inside of the cupcake is a rainbow too. And I baked little shreds of cotton candy inside the cupcake. When you bake these, your kitchen will smell so nostalgic.  I wish I could take this scent with me everywhere. I piped little colors on top of each other inside of the rainbow cupcake using 3 different disposable piping bags full of different colors. 

 I always change up the color combos, this one was kind of fun too.
Using Americolor gel pastes, Teal, Fuschia, and Royal Purple♥
(Scratch N Sniff. Just kidding, I wish I could somehow make this happen)!


The number one reason I do these little swirly swirls of cotton candy inspired frosting on top of my cupcakes instead of putting real cotton candy on top...


Which I've also done before and looks amazing at first..


(so pretty, right?!)

Is because.. the cotton candy eventually reacts with the frosting and dissolves into a liquidy sticky mess on top of your cupcake and you'd never know that it once was cotton candy!  However..if you are going to serve your cotton candy cupcakes to be eaten right away, it does looks super pretty when you "float" a piece of cotton candy like a cloud on top of each cupcake.

If you want the clouds to stay puffy for extended periods of fun, I'd recommend my fluffy cotton candy cloud frosting technique!


You aren't limited to only making your cotton candy cupcakes look like cotton candy though! Think of what cotton candy swirls look like in your own imagination.  I came up with purple poodles!


Or Lorax tree cake pops. (Truffula cake pops).  These were made by dipping a cotton candy rainbow cake pop into candy melts of truffula-esque candy melt colors.  Then I took a toothpick and added more candy melt to the outside of the pop, swirling and adding tons o fun texture to the pop.  These look like Cotton Candy too!

You are a cupcake superhero. I believe it.
So here is the recipe.
Pour yourself an epic glitterized superhero coffee, and go for it.
COTTON CANDY RAINBOW CUPCAKES What you will need:
Ingredients: (Makes appx 18 Cupcakes)
1 Box of White Cake Mix
1/3 Cup of Vegetable Oil
1 ¼ Cup Buttermilk (instead of water)
4 Eggs
1 Tsp Cotton Candy Liquid “Extract” (found at local cake supply stores) and/or one packet of blue Duncan Hines Cotton Candy Frosting Flavor
1 small (3 or 4 oz) box of White Chocolate Pudding, Dry in Powder Form
Cotton Candy, ready to tear up into small pieces & bake inside of cupcake.

For Colored Rainbow Batter:
♥Electric Pink Gel Paste Color (I use the brand Americolor in the squeeze bottles)
♥Royal Purple or Electric Purple Gel Paste Colo♥Sky Blue Gel Paste Color (with this color, optional—Blue Cotton Candy Flavor Mix-found in baking aisle at local grocery stores)

For piping the rainbow batter inside cupcake liners
: 3 Disposable Decorating Bags
Directions:
1.    Preheat the oven to 325.
2.    Line cupcake tins with cupcake papers.
3.    Blend all ingredients (except colors) together for about 2 minutes in your mixer.
4.    Take out 3 separate bowls and pour about 1 1/2 Cups of white batter in each bowl.
5.    Squeeze three drops of the Electric Pink color into one of the bowls.
6.    Squeeze three drops of the Purple color into one of the bowls.
7.    Squeeze three drops of the Sky Blue color into one of the bowls.  Optional:  Add half a 0.10 oz packet of blue Cotton Candy flavor mix to this color batter during this step. This will give your cupcake a boost of cotton candy flavor.
8.    Fill one disposable decorating bag with Electric Pink Batter and cut a small hole at the end for piping.
9.    Fill a second disposable decorating bag with your Purple batter and cut a small hole at the end for piping.
10.  Fill a third disposable decorating bag with your Sky Blue Batter and cut a small hole at the end for piping.
11.  Cover the bottom of your cupcake liner with a small amount of pink cupcake batter, using your piping bag to pipe the batter out neatly.
12.  Tear a piece of cotton candy off and place on top of pink batter, this will bake inside the cupcake and give your cupcake flavor.
13.  Repeat by piping purple batter on top of cotton candy & pink batter.
14.  Repeat by piping sky blue batter on top of your purple batter.
15.  Continue to repeat alternating between rainbow color batter until your cupcake liner is about ½ full.
16.  Bake at 325 for about 20-25 minutes or until inserted toothpick comes out clean.
17.  Let cool before decorating, but if the temptation strikes-cut into the cupcake! A beautiful rainbow cotton candy surprise inside of the cupcake!


COTTON CANDY FROSTING:

Ingredients: (Frosts appx 18-20 Cupcakes)
7 oz Marshmallow Cream at room temperature.
2 Cups Unsalted Butter, softened but not melted.
3 Teaspoons liquid Cotton Candy “Extract” (found at local cake decorating supply stores)
and/or Duncan Hines Cotton Candy Frosting Flavor
6-8 Cups Powdered Sugar

For Decorating:
Piping Bags & French Pastry Tip.
Optional: Cotton Candy & Hologram Silver Disco Dust

Colors needed to make your frosting look like puffy cotton candy peaks on top of cupcake:
Electric Pink Color Gel
Sky Blue Color Gel(add one whole 0.10 oz packet of Blue Cotton Candy Frosting Flavor Mix to this color).
Plain White Frosting

Instructions:
1.  In stand mixer using flat beater attachment,  whip Marshmallow Cream & Unsalted Butter until creamy.
2.  Add Cotton Candy Flavoring to Butter & Marshmallow Cream base.
3.  Gradually add Powdered Sugar until you reach desired frosting thickness (less for creamier frosting, more powdered sugar for stiffer frosting—better for piping ).
4.  Separate Frosting into 3 bowls, just like you did with the cupcake batter.  In one bowl, add 2-3 drops of electric pink. Repeat in 2nd bowl with Sky Blue but make sure you add one whole .10 oz packet of Blue Cotton Candy Frosting Flavor Mix to this color.  Add already made white frosting to 3rd bowl.   If you want colors to be brighter-add more color per bowl. This is up to you!  You don't need purple color here because pink, sky blue & white will eventually pipe out a purple color as you decorate.
5.  To pipe a rainbow colored “cotton candy” inspired peak on top of cupcake:  Cut opening at the end point of disposable piping bag and slide French pastry tip down through the hole.
6.  Stack each color of frosting on top of each other inside of the piping bag. (Pink, Sky Blue, White).7.  Pipe little peaks as shown in picture to resemble Cotton Candy Peaks!8.  Optional:  Tear off pieces of cotton candy and set on top of frosting swirls. Serve immediately if decorating with real cotton candy, since cottoncandy will wilt into the frosting.

Labels: , , , , , , , , ,

Wednesday, December 18, 2013

Cupcake Sugar Cookie Cutouts

Baking and decorating isn't the same if I don't step on sprinkles of crunchy rainbows that fell on my kitchen floor tiles,  find frosting in my curly hair, and wonder if I should ever wash my pants again, because smears of glittery frosting on my pants from a fun night of baking looks so pretty! (Sprinkly frosting colored denim line in the future of Amanda Cupcake? Perhaps..)

For Cupcake Lovers that might want to try something new..
 ♥Sugar Cookies♥ that are inspired by cupcakes, layered with Sprinkles, White Whipped Buttercream Frosting, and topped with a bright red sparkly cherry! 


........My cupcake sugar cookies resemble the cupcakes I made last year (they were filled with sprinkles)!
This was really easy. You push a hole down into the middle of the cupcake with a cupcake corer and fill that empty spot with any sprinkles you wish).

The sugar cookies I make are soft, not crunchy. (I leave the crunchy texture up to the sprinkles). I cut the sugar cookie dough with a cupcake cookie cutter about 1/4"-1/2" thick and bake them just until they are done on a lower oven temperature.  This cookie is the perfect BFF with a fluffy marshmallow cream frosting!  I don't believe in a thin glaze of frosting (that's just my own cupcake religion).  I firmly believe in piling on puffy swirls of frosting.

 Isn't that what dreams are made of?


How a Cupcake Sugar Cookie is born:
1.  Roll out the dough so it is 1/4"-1/2" thick (see recipe for making the sugar cookie dough below).
2. Use a cupcake cookie cutter to cut out your shapes, and bake on parchment paper at around 325 for 10-15 minutes (depending on your oven. You don't want to overbake the cookies, but you don't want them to come out raw. You want a happy medium).
3.  Fill a piping bag with Marshmallow Cream frosting (I am using a 1A round decorating tip in my piping bag (see recipe below).
4.  Frost the cupcake liner section of the sugar cookie.  While the frosting is still creamy, dip the frosting in a bowl of rainbow sprinkles.  The rainbow sprinkles will stick to the frosting to create an edible cupcake liner!
5.  Swirl your frosting on to the top of the cupcake, and top with a real cherry!
6.  Sprinkle edible glitter or pixie dust on the Maraschino Cherry for some extra sparkle and shine.


"Cupcake" Sugar Cookies don't have to look like cupcakes.
All my sugar cookies are inspired by how I pipe a pretty swirl of frosting on top of my cupcakes!

Minnie Mouse Sugar Cookies (I just used a Mickey/Minnie Mouse Cookie Cutter and swirled on Electric Pink Frosting!)
Lucky Charms Sugar Cookies! (I just frosted the cookie with frosting and used Lucky Charms as my sprinkles)
Rainbow Sugar Cookies (to learn how to pipe a rainbow swirl, click here for my tutorial)

Lemonhead Sugar Cookies!
(just add 2-4 teaspoons of lemon extract to your buttercream recipe--listed below--for a lemony buttercream). Top with a lemonhead or two..or three!

I Love You Sugar Cookies, Sprinkled with Love and Disco Dust.
(I used a cookie cutter for the shape).

A Garden of Sugar Cookies ♥

Unicorn sugar cookies! (the horn is a bugle and the nose is a marshmallow!)

..Every single one inspired by a cupcake!


Amanda Cupcake Sugar Cookies:

Ingredients:

6 Cups Flour
3 tsp Baking Powder
1 tsp salt
2 Cups Softened Butter
2 Cups Sugar
2 Eggs
2 Tsp Vanilla


Instructions:
1. In Stand Mixer, Cream Butter, Sugar, Eggs and Vanilla Together.
2. Combine Dry Ingredients-Flour, Baking Powder, and Salt in A Separate Bowl.
3. Gradually add Dry ingredients to creamed ingredients.
4. Now roll your sugar cookie dough out on parchment paper and lay out on a pan.
5. Cover sugar cookie dough with parchment paper and refrigerate for 20 minutes.
6. After 20 minutes you are ready to cut out your shapes using cookie cutters. (I make my shapes really thick, about 1/4" to 1/2" so they are like "cupcake" tops!)
7. Bake shapes in the oven at 325-350 for only about 10-15 minutes (I always underbake them a little so they are soft instead of hard).

Amanda Cupcake Marshmallow Cream Frosting:
13 oz Marshmallow Cream
1 lb softened butter
4 T Vanilla Extract
appx 8 Cups of Powdered Sugar (depending on how thick you want your frosting to be)

Instructions:
1. Use a rubber spatula to scrape the Marshmallow Cream and the butter out into your stand mixer.
2. Mix well until fluffy and well blended.
3. Add vanilla extract.
4. Now add your powdered sugar, slowly until the frosting reaches desired consistency. Don't be afraid to add more powdered sugar-there is a lot of butter and marshmallow cream so it may take awhile to reach the stiffness desired for piping pretty swirls on your cupcake inspired cookies. ♥


Labels: , , , , , , , , ,

Friday, May 25, 2012

Memorial Day Cupcakes ♥

What does Memorial Day taste like to you?

To me, the purpose of a Memorial Day feast is to celebrate life & freedom in rich flavors. ♥  Think cherries, blueberries, pie, all while watching the parade, and don't forget the fireworks after.

That's what I tried to create inside of this cupcake.
A cherry, vanilla, blueberry cupcake parade.
With a Blueberry or Cherry Pie baked inside. ♥
For the fireworks..a sparkly pie on top!

I made three different cupcake batters and poured them on top of each other inside the cupcake liner.  One is blueberry velvet ♥ The second is a basic vanilla ♥And the third..is my red velvet batter.  I added a splash of almond extract to the red velvet so it tastes like cherries.

A perfect Memorial Day picnic..
 always includes a cherry or blueberry pie ♥
..and maybe a food fight?

Cupcake Wars where the weapons are frosting, pie filling, cake, and sparkles. 


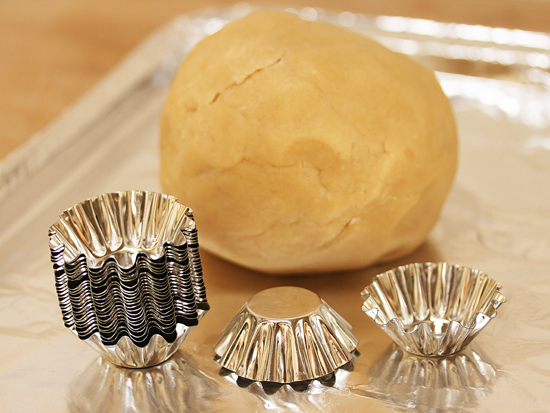
I love using mini tartlet tins to mold my mini pies!
They are the perfect size to bake pies inside of your cupcakes, and the edges are about as sharp as a cookie cutter.  I buy mine at a specialty kitchen store called the Wire Whisk.


 I love pie inside of cupcakes..
And on top of cupcakes..
even inside of cake! (see it done here)
Because it unites the cake & pie lovers together.
Even if it's just for one day.

Next on my list....is a savory cupcake♥
Uniting a picnic lunch and dessert..perhaps?

Happy Memorial Day ♥

Labels: , , , , , , ,

Sunday, July 10, 2011

My Very First TV appearance!

My life has been an insane cupcake wonder the past few months, and I love it.
I really want it to keep up like this. I am having a blast.
Especially with all the people I've been meeting, and all the sweetness I've been sharing.
Most of all, I want it to keep going like this so that I can open a bakery soon, or even write an amazing book. Wouldn't that be a dream come true?

For the first time this last Saturday I was interviewed on television and I demonstrated how to make the little strawberries on a spoon..and how to bake a cupcake in a mason jar!

Normally I hate watching myself on video, but honestly - I think if I were a stranger to Amanda Cupcake, I'd like her after watching this video.

I have to give amazing props to the wonderful people in the studio that helped calm my nerves, and gave me advice on future television opportunities.  I couldn't have been the "real" Amanda Cupcake without their calming energy.

So..without further ado.. my TV debut.. Fox 11..Good Day Wisconsin! (there are two segments!)


Labels: , , , ,

<data:blog.pageTitle/>

This Page

has moved to a new address:

https://theamandacupcake.com

Sorry for the inconvenience…

Redirection provided by Blogger to WordPress Migration Service