How to Host A #NAILEDIT Party!
I am so sorry to all of those who have been reading my blog.
It has literally been over a year since I have written here.
But it's never too late to start over again, right?
I have had so many things happen. Like this:

With a Rebel yell...
My little Rebel Rose Rudd. Born on 6/1/17.
It took awhile for me to adjust to motherhood. I took a break from being a cupcake queen and solely focused on being a mom for a little bit. This little Rebel has been the one preventing me from sitting on my computer and sharing my life in blog format ♥.

In the meantime, something AMAZING happened in the state of Wisconsin. A law was passed saying that I could bake out of my home kitchen for profit. So as of 2018, I gradually started to bake out of my home kitchen again and it has been a blur ever since.
I know, I know a lot of people say that you have to sacrifice everything you want for your kids. But I don't believe in that. I believe the opposite. I think you should make dreams happen for your little ones, so that you can be a happy parent, and a strong wonderful role model for your babies! So even though it is challenging sometimes, I will not give up on this baking dream. I would love to have Rebel standing side by side with me in the kitchen, if its something she'd enjoy doing!
My big goal in my comeback as cupcake queen was to host themed cupcake decorating parties. I've made that vision come true!
Last week, I partnered with Winemakers Daughter out of Manawa and we hosted a #NAILEDIT Party! I love that show on Netflix. I will never be as funny as Nicole Byer (the hostess of the Netflix show) so I told everyone that this was definitely the AMANDA CUPCAKE version INSPIRED by Nailed It on Netflix! So I put my own spin on it.

My husband Kyrik joined me for this one, and he definitely stole the limelight with his charm and sense of humor (he is also wayyyy funnier than me!) He stood in as a judge and the photographer.

My friend Jamie who owns Winemakers Daughter also stood in as a judge!
The Winemakers Daughter and Cupcake Queen = Good friends to have!!!

I've really been into making unicorn cakes.
If you have been following me, I've been doing the unicorn thing since before it was super trendy. So I feel like I have an advantage, having natural glittery rainbow unicorn brains! I've been booked with a different unicorn cake almost every week since I've been back as Amanda Cupcake.
So for this NAILED IT Party... The theme was Fantasy UNICORN CAKES!

In preparation I made 50 mini rainbow cake layers for the 15 contestants, each one 4" round (so each contestant could bring home their own 3 layer rainbow cake).

My little Rebel helper. ♥

I also made this fabulous giant edible golden unicorn NAILED IT Cupcake Trophy for the WINNER!
♥

And wore my gold glitter combat boots for the occasion!

..And since I had done all the prep at home, it was everyone else's turn to "work"! I sprinkled some glitter in my wine and off I went to host and judge my first NAILED IT-Amanda Cupcake party!

The Rules. Some written by my husband, just to make it more interesting.
The thing I love most about NAILED IT on Netflix is that it is different from other reality shows. Everyone is laughing. No one gets all serious and cries. It is intense, but intensely funny. Everyone has a good time. That's what I wanted to create in our atmosphere at the winery.

The big reveal.. The unicorn cake..hidden underneath that box.
(We hid it until right before the decorating started!)

I bought these little unicorn horn suckers at the party store to try and keep it simple. I typically use fondant to sculpt my unicorn horns, but I wanted the contestants to be able to recreate their own version as easily as possible since they were paying to attend and I wanted them to go home with something they could be proud of! I also used marshmallows dipped in sugar sprinkles for the ears.

Each table was filled with frosting and palettes of sprinkles, piping bags, and all sorts of tools you could use to successfully create a mini unicorn cake!

This guy doesn't know it yet, but he won!


We challenged this talented lady to add a rainbow mustache to her unicorn cake, just to throw her off since she seemed to have advanced unicorn cake making skills!

Clapping out of pure joy.

After an hour of decorating, each contestant showed off their creation.
And I was amazed at what they created!
It was a very tough decision.

I noticed each and every person there poured their heart and soul into their creation. Laughter filled the winery. It reminded me a lot of my times in the kitchen and what I do when I make cakes for people.
♥


How creative is this?!?!!? Check out that MANE!
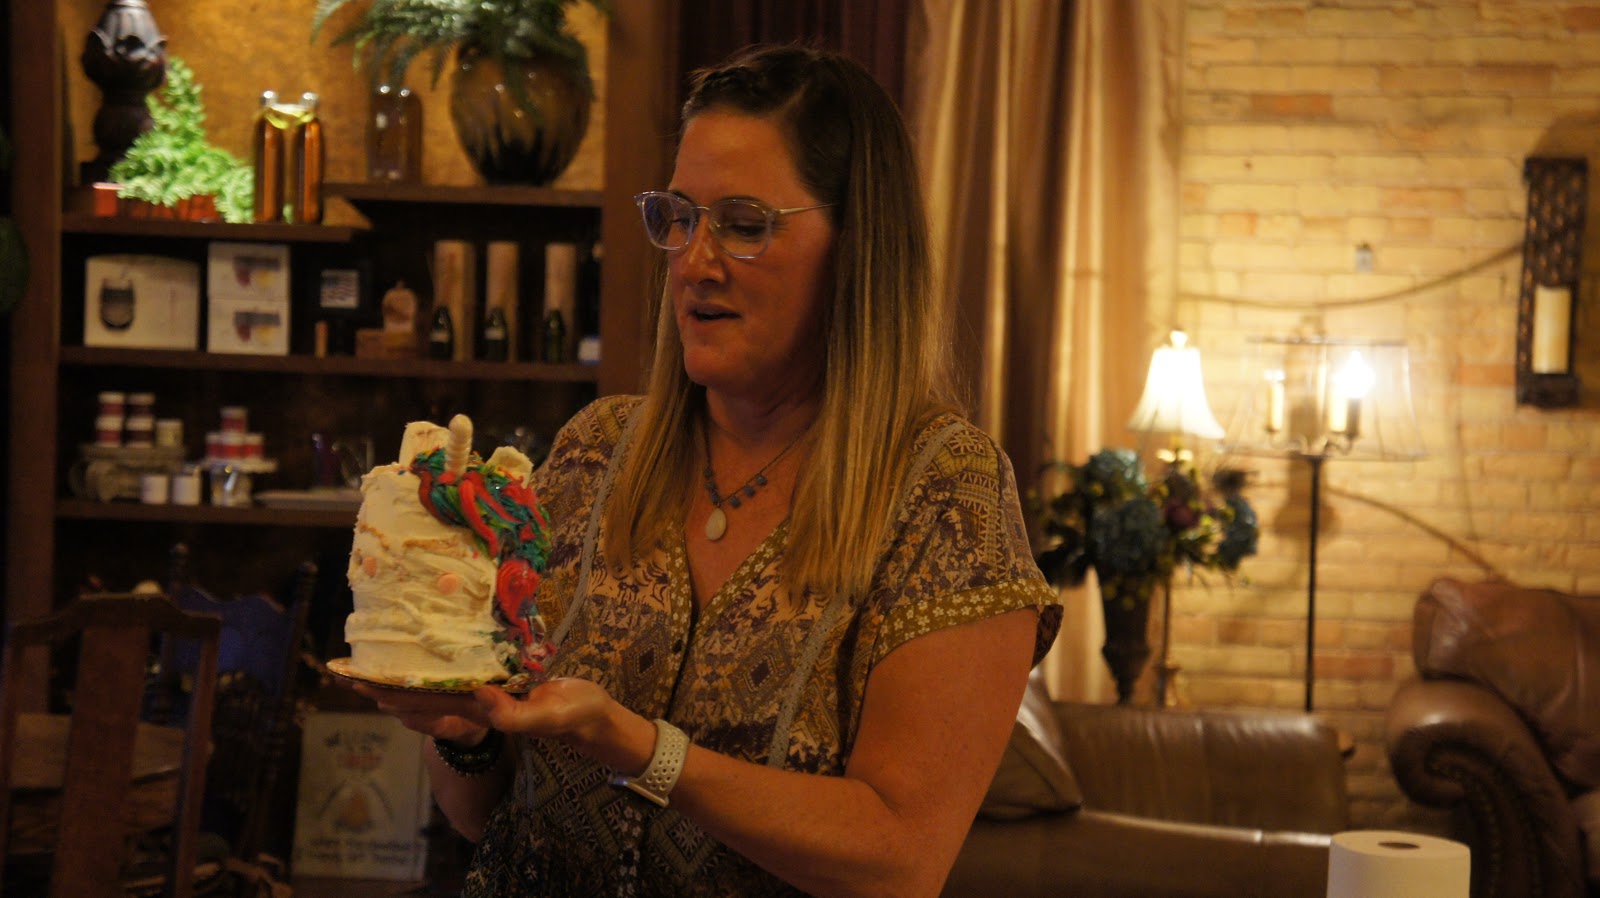

A unicorn with a glittering UNIBROW!

2 cakes created without fancy tools...I told these ladies they were "scrappy" like Amanda Cupcake!

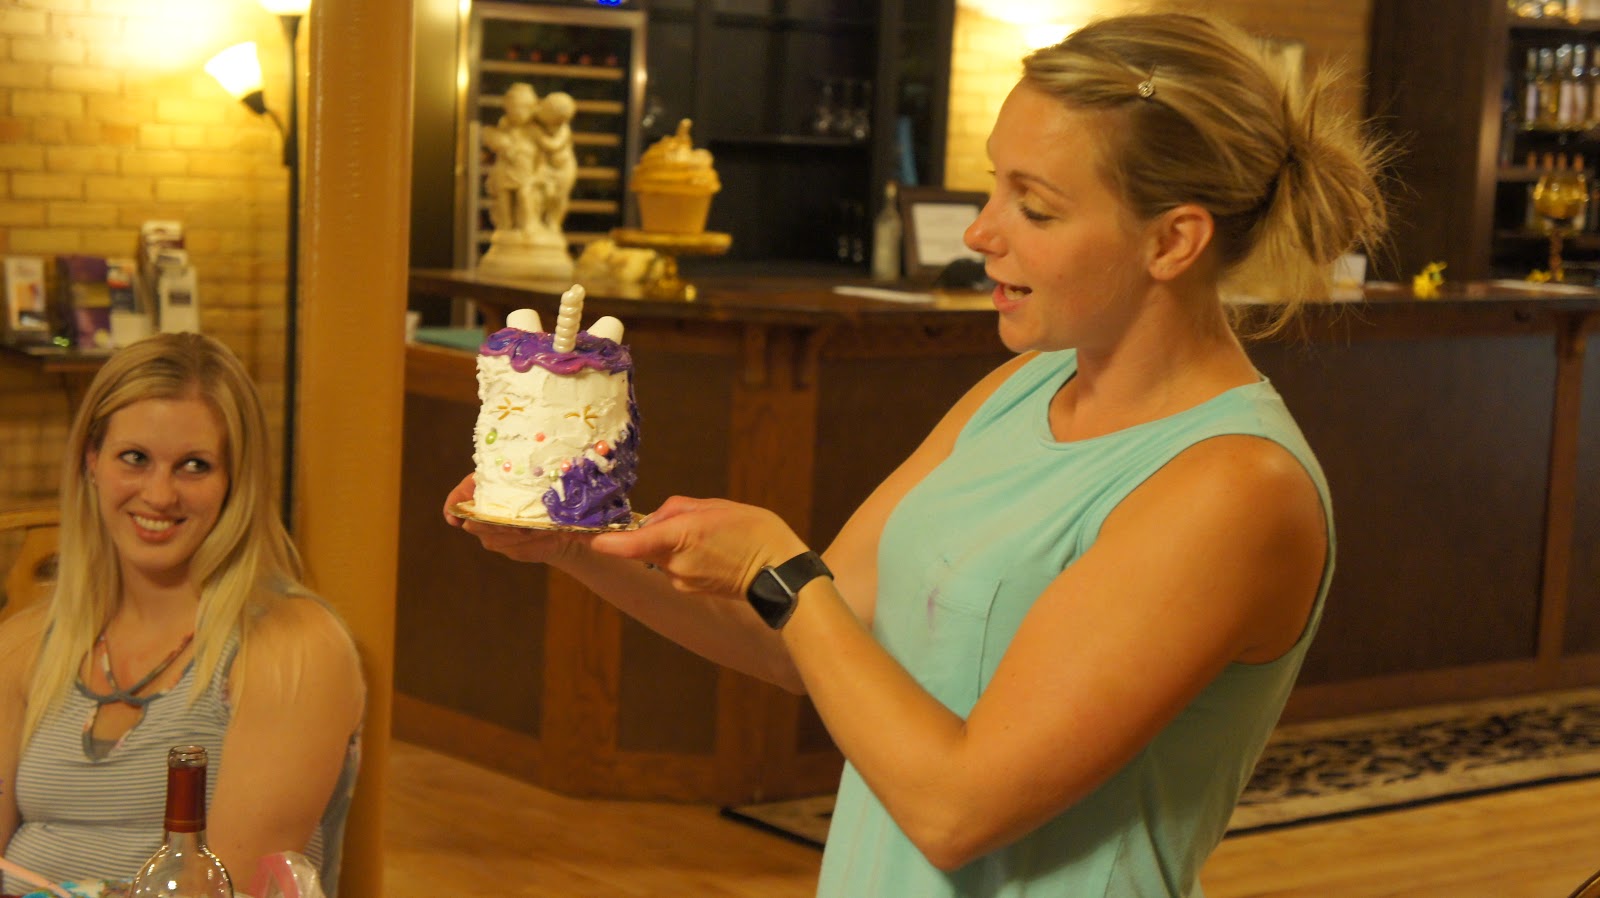
She definitely has some skills! The purple hair was my fave.
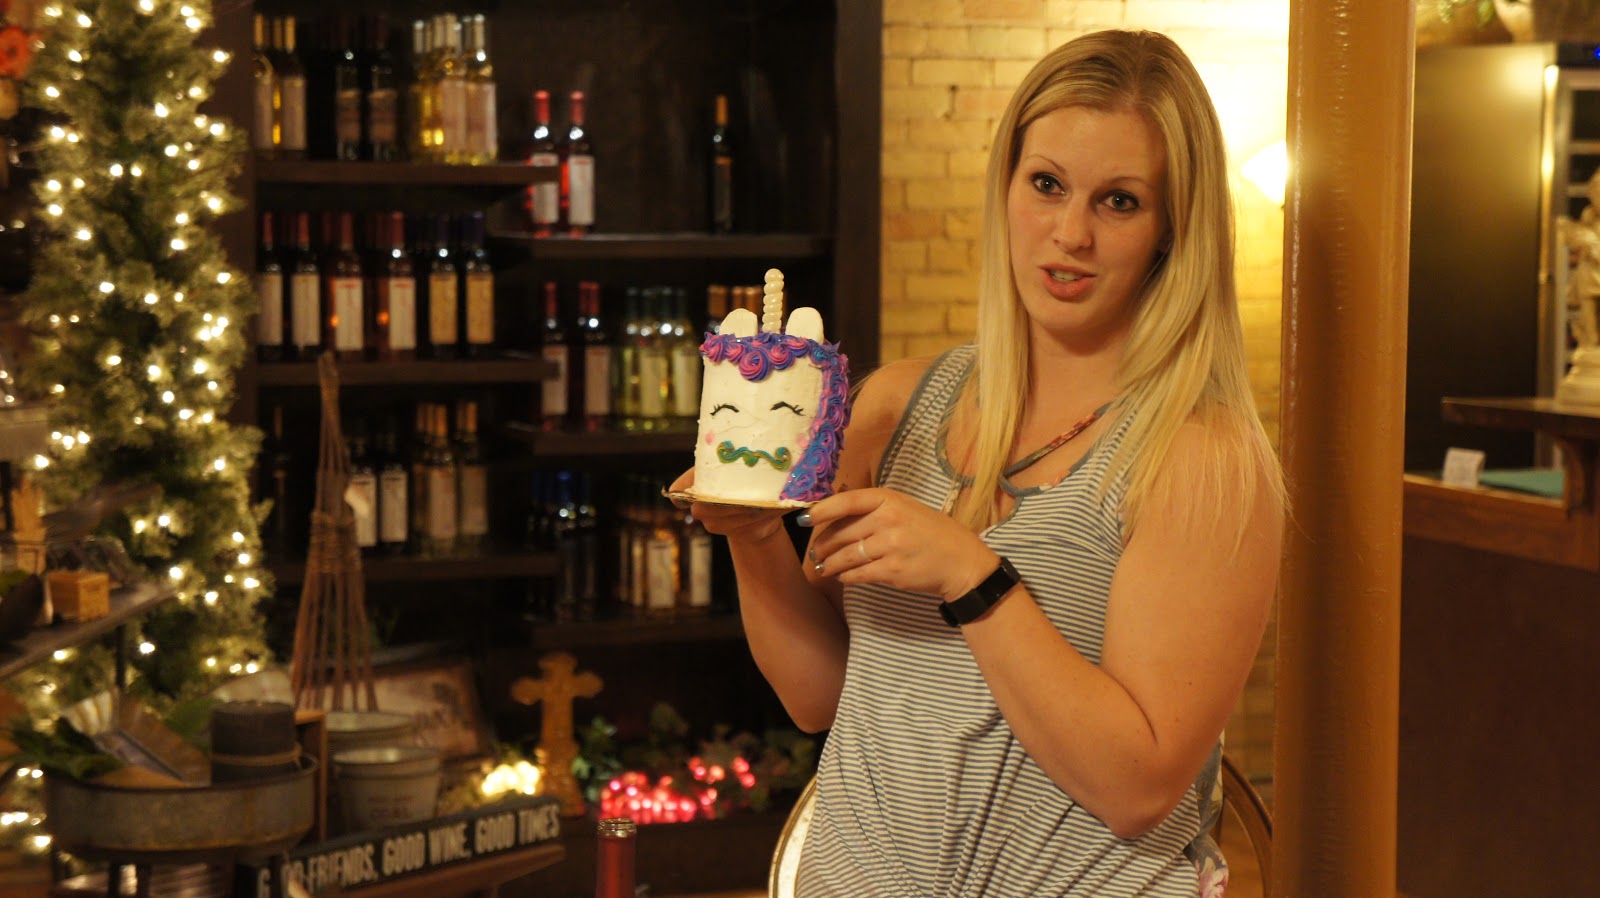
....there's that rainbow mustache!!

A view of her creation close up:

A Halloweeny unicorn! OoooH!
..And sadly this one fell apart before we got a picture of it, but it was STILL fabulous, and edible!:

The winner:

The BEARICORN!
This guy came in asking me not to put glitter in his wine. But I did it anyway. I explained that she or HE who leaves a trail of glitter behind is never forgotten! And he left with a glittery golden edible cupcake trophy. We chose the BEARICORN because our rules never said that you had to make your unicorn cake look just like mine. We said that it had to come from your heart, and we asked the contestants to create what your spirit animal unicorn cake is?
The Bearicorn spoke to my heart because it had the same kind of spirit as my husband and my little Rebel girl. My little Rebel has this furrowed eyebrow, she got it from my husband. And honestly... so did the Bearicorn. My husband and I agreed, this cake captured our hearts.

I am not really sure what everyone thought about this new side of Amanda Cupcake..
The judgey quirky side....

But I hope all of the contestants had as much fun as I did.
This will go down in history as one of my most favorite memories as a Cupcake Queen!
A Glittery Cheers, and onto the next #NAILEDIT Party!!
Labels: Amanda Cupcake, Baby, Cakes, Cupcakes, glitter, Manawa, Mom Life, Nailed It, Nailed It Party, NAILEDIT, Netflix, rainbow, Rebel, Unicorn, Unicorn Cakes, wine, Winemakers Daughter, Wisconsin
posted by Amanda Cupcake @ 8:17 PM
6 Comments